My 3-Day Kentucky Packing List: What I Fit in My 20-Year-Old Carry-On
Planning a quick trip to Kentucky? This…


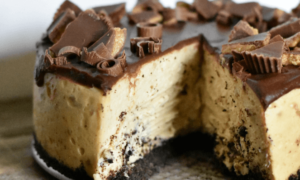


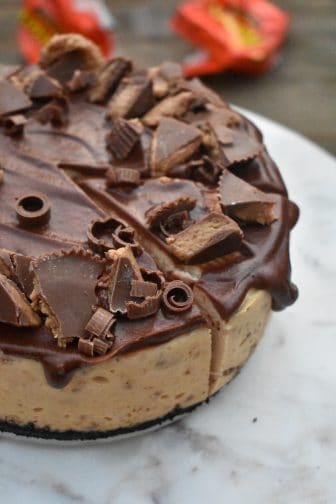
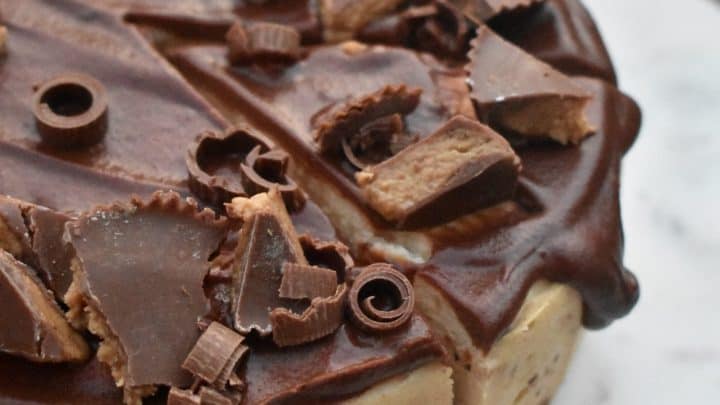
Reese’s peanut butter cheesecake is one of the most indulgent desserts I’ve ever made. It’s also as easy as it is delicious! If you love cheesecake and your favorite candy is Reese’s peanut butter cups, this recipe is for you.
This also makes a wonderful birthday party cake for kids! Combining two vastly popular treats in one is sure to win the hearts of all the guests at your party (children and adults).
Disclosure: This post may contain affiliate links, meaning I get a commission if you decide to make a purchase through my links, at no cost to you.
I am a cheesecake lover and therefore, take any excuse to make one. I tend to be a purist so I like to make plain cheesecakes with not a lot of fuss. However, I’ve found myself being extremely into peanut butter cups lately and thought, why not combine them?! This is now one of my favorite cheesecake recipes! Trust me, if you’re a peanut butter lover you’re going to adore this deliciously easy Reese’s peanut butter cheesecake!
Fun Fact: Reese’s Peanut Butter Cups are one the highest selling candies in America.
This cheesecake with peanut butter cups is cooked in an Instant Pot, which makes it convenient and quick. I have to say, this is one of my favorite parts about this cheesecake recipe – tell me it’s fast, easy and delicious and I’m your gal!
Cheesecakes can be tricky to get out of a regular cake pan, therefore you need to use springform pan (a 7″ springform pan fits the instant pot). Springform pans are great because the sides just ‘unclick’ and come right off, leaving your cheesecake beautiful and intact!
This Reese’s cheesecake recipe has a Oreo cookie crust! As if this recipe couldn’t get better, it includes my favorite chocolate crème cookie.
P.S. if you are an Oreo lover too, check out my recipe for Oreo Macarons!
The Oreo cookie crust for cheesecake is made by placing all the cookies in a food processor (don’t leave out the crème) and pulsing it until you have a fine crumb. The dough should stick together when pressed in your hand. This can also be achieved if you don’t have a food processor. Place the Oreos in a bag and crush them with a rolling pin until the desired consistency has been reached.
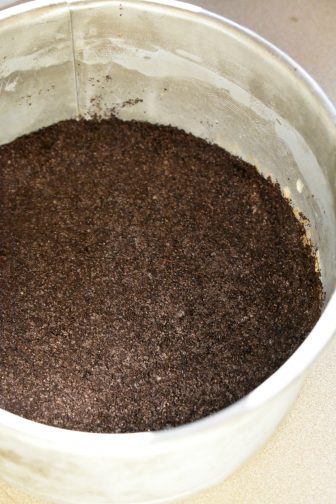
Spray the bottom of your springform pan with non stick spray or grease with a bit of melted butter. Then dump the Oreo crumbs into the bottom of the pan and press down with your fingers. You want the crust to be smooth and firmly packed down. Let the crust harden in the freezer while you prepare the rest of the cheesecake.
This cheesecake filling is made with peanut butter and cream cheese. For the peanut butter, feel free to creamy peanut butter or chunky peanut butter. If using a organic or natural peanut butter, make sure to mix it well before use. Using a hand mixer, a whisk or a spatula, mix the peanut butter and cream cheese together. You’ll want to mix it until there are no lumps in the mixture (except for the nuts if you choose crunchy). If you are not using an electric mixer, let the peanut butter and cream cheese soften on the counter before use.
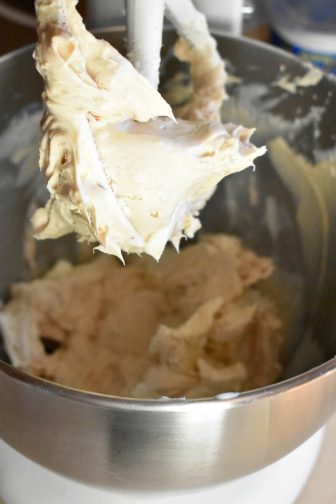
When then the mixture is smooth, add in the sugar one tablespoon at a time and combine. Then add in the sour cream and mix well. I used full fat sour cream, it has a better flavor, in my opinion. However, feel free to use whatever sour cream you like. You could even substitute it for Greek yogurt, if you prefer.
Finally, add in the eggs one at a time, making sure to completely combine each one before adding the next. Mix as little as possible to get the eggs incorporated well in the batter .
Then, pour the batter in the prepared springform. Give the pan a few taps against the counter to get rid of any air bubbles.
Grab your pressure cooker and prepare it with one cup of water at the bottom. Then place your trivet in the bottom of the pot.
Wrap the springform pan tightly with aluminum foil and place it on the trivet. The cheesecake will then cook on high for about 35 minutes. Let the pot release pressure naturally when it is done cooking.

After, you can open the pot, take the hot cheesecake out and let it sit on the counter until cooled. Let the cheesecake sit on the counter before you place it into the refrigerator. Before you add the ganache topping, you’ll want to cool the cheesecake in the refrigerator for at least 8 hour or overnight.
This ganache-covered cheesecake is perfect for a party. Peanut butter and chocolate are always a delicious combination. To make the chocolate ganache topping for this peanut butter cheesecake you’ll need heavy cream and chocolate chips. You can use semi-sweet chocolate chips or milk chocolate chips- it’s up to you! Combine chocolate chips in a bowl with the heavy whipping cream and slowly melt them. It’s easy to use a microwave for this step, just be sure not to burn the chocolate!
It’s best to heat it for 30 seconds at a time. When everything is melted, mix it well until it’s creamy and glossy.
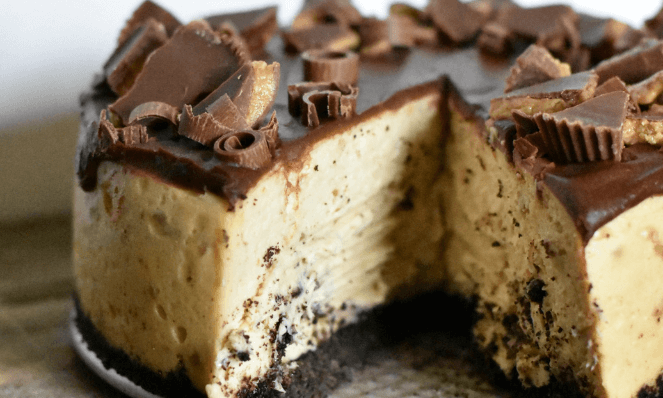
Now for the best part: pour the ganache over the cheesecake and let some drip over the edge. This makes the most beautiful cake design. Then top it with mini Reese’s Piece, chopped peanut butter cups, or quartered Reese’s chocolate candies! You can even add peanut butter chips for some extra peanut buttery flavor.
If you have leftover ganache, you can store it in the refrigerator for up to a week and use it as a topping on a hot brownie topped with even more Reese’s cups! The combination of the Oreo crust with chocolate and peanut butter makes this an amazing cheesecake.
This peanut butter cheesecake is now ready to enjoy!
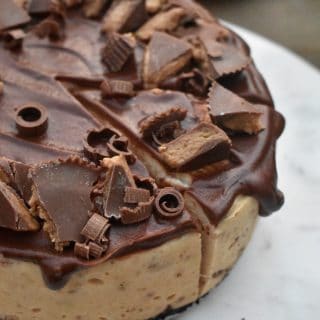
This Reese Cheesecake is such a creamy, peanut buttery, chocolatey delight! This delicious cheesecake is the perfect treat for any party, especially because of how beautiful it is. It will certainly make a statement on any table.
If you have kids or grandkids, its a great dessert to make for as a birthday cake or for a candy party, or a Halloween party. Switch up the toppings to include other popular candies like Snickers, Twix, Heath Bars, or Oreos! This cheesecake recipe is a good base recipe to make a “candy cake” and let’s be honest, what could be better than that?!
What did you think of this recipe? Do you know any Reese’s fans? We’d love to hear from you in the comments below!
Stay in the loop! Sign up for our newsletter to receive the latest tips, exclusive deals, and inspiration for stylish living.


Thanks for this delicious new recipe. I made it today for the first time and it turned out PERFECT!????????
I am so glad!
Hi, would you know what adjustments I’d have to make if all I have available is a 7 in springform? Thank you!